Building a wood fence is not just about creating a defined perimeter around your property; it enhances your home’s aesthetics, provides privacy, and can increase your property value. If you’re considering wood fence installation, you’ve come to the right place! In this comprehensive guide, we’ll take you through the entire process—from planning and preparation to installation and maintenance. Let’s dive in and explore how you can achieve the perfect wood fence for your yard!
Why Choose Wood Fencing?
Aesthetic Appeal
Wood offers a natural, timeless beauty that complements various landscaping styles. Whether you prefer rustic cedar or modern pine, there’s a wood type for every taste.
Durability
When properly treated and maintained, a wooden fence can last for decades, providing both functionality and charm to your property.
Customization
Wood fencing allows for countless design options. You can choose heights, styles, and finishes that best suit your home’s architecture.
Environmentally Friendly
Wood is a renewable resource, making it a more sustainable choice compared to synthetic fencing materials.
Planning Your Wood Fence Installation
Step 1: Check Local Regulations
Before you start your project, check with your local zoning department about any regulations or permits required for installing a fence. Some areas have specific height restrictions or guidelines that you must follow.
Step 2: Choose the Right Wood Type
Selecting the right type of wood is crucial for a successful wood fence installation. Here are some popular choices:
- Cedar: Naturally resistant to decay and bugs, cedar is a great choice for longevity.
- Pine: Economical and versatile, treated pine is often used in various styles of fencing.
- Redwood: Known for its rich color and natural beauty, redwood is a high-end option for luxury fencing.
Step 3: Determine Your Budget
Wood fence installation costs can vary widely based on the wood type, design, and labor. Create a budget that accommodates materials and any extras such as stains or sealants.
Step 4: Plan Your Layout
Use stakes and strings to outline where your fence will go. Measure accurately and consider factors like gates and corners in your design.
Tools You’ll Need for Wood Fence Installation
- Measuring Tape: Essential for accurate measurements.
- Post Hole Digger: Used for digging holes for your fence posts.
- Level: Ensures your posts are straight and your fence is level.
- Mallet: Useful for driving in stakes or pounding in fence panels.
- Screwdriver or Drill: For securing panels and hardware.
- Saw: For cutting wood to fit your design.
- Protective Gear: Gloves, goggles, and ear protection.
Step-by-Step Wood Fence Installation
Step 1: Prepare the Ground
Clear the area where your fence will be installed. Remove any debris, rocks, or plants that could obstruct your work.
Step 2: Mark Fence Post Locations
Using the tape measure and stakes, mark the location of each fence post. Generally, posts should be spaced 6-8 feet apart.
Step 3: Dig Post Holes
Using your post hole digger, create holes that are about 3 times the width of your posts and deep enough to secure them firmly—typically around 2 feet.
Step 4: Set the Fence Posts
Insert the fence posts into the holes. Use a level to ensure they are straight. Fill the holes with concrete mix for stability. Allow the concrete to cure as per the manufacturer’s instructions.
Step 5: Attach the Rails
Once the posts are solid, attach horizontal rails between the posts. Depending on your design, you might have one, two, or three horizontal rails. Secure them using screws or nails.
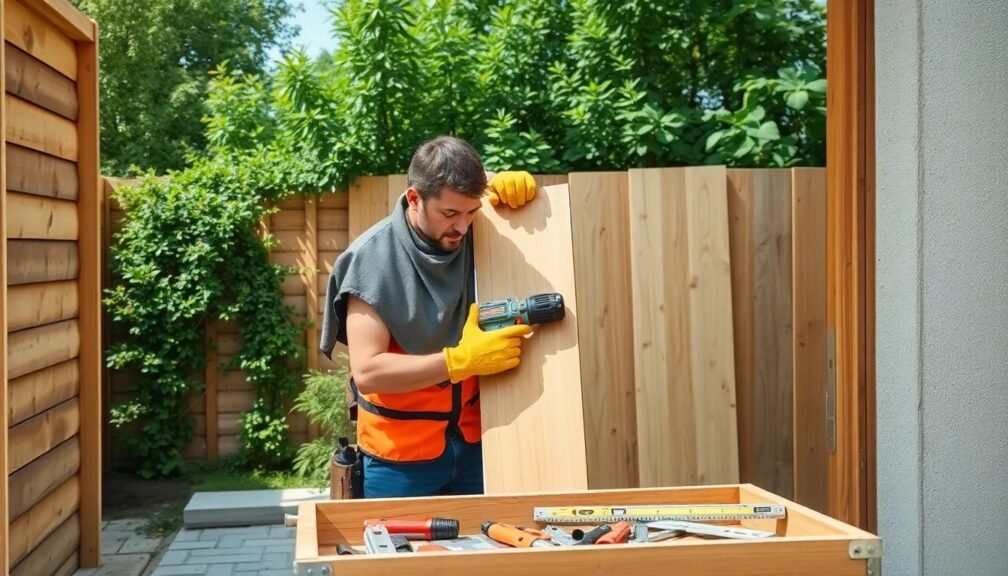
Step 6: Install the Fence Panels
Now it’s time to install the fence panels. Align them with the rails and secure them in place. If you’re creating a custom design, you may need to cut panels to your desired height.
Step 7: Finish with Gates
If your design includes gates, leave appropriate openings based on the gate size. Install hinges and latches once the gate frame is set.
Wood Fence Maintenance Tips
Once your wood fence installation is complete, you must maintain it to ensure longevity:
Regular Cleaning
Remove dirt, mildew, and debris regularly to maintain your wood’s natural beauty. A simple wash with water and mild soap can do wonders.
Stain or Seal
Applying a wood stain or sealant protects your fence from UV rays and moisture. A good rule of thumb is to reapply every 3-5 years.
Inspect for Damage
Regularly check for rot, insect holes, or weakened panels. Address any issues promptly to prevent them from worsening.
Trim Surrounding Vegetation
Keep plants and grass trimmed around your fence to encourage air circulation and reduce moisture retention.
Common Mistakes to Avoid
Skipping the Research
Always invest time in understanding local regulations and the types of wood available for your fence. It can save you a lot of headaches and potential costs down the line.
Neglecting Measurements
Measure twice and cut once! Inaccurate measurements can lead to uneven panels and posts, which can detract from the final look.
Ignoring Drainage
Water pooling around your fence posts can lead to rot. Ensure proper drainage away from your posts during installation.
Forgetting Maintenance
Don’t overlook regular maintenance. This is essential in prolonging the life of your wood fence and keeping it looking great.
Conclusion: Time to Get Started!
Wood fence installation can be a rewarding project that adds both beauty and functionality to your property. By following this step-by-step guide and avoiding common mistakes, you can create a stunning fence that stands the test of time.
Remember to plan carefully, choose quality materials, and devote time to regular maintenance. Don’t hesitate to consult with professionals if you feel overwhelmed. With a clear plan and the right resources, your ideal wood fence is just a few steps away!
Ready to enhance the look and feel of your outdoor space with a beautiful wood fence? Start planning today and let your creativity shine!