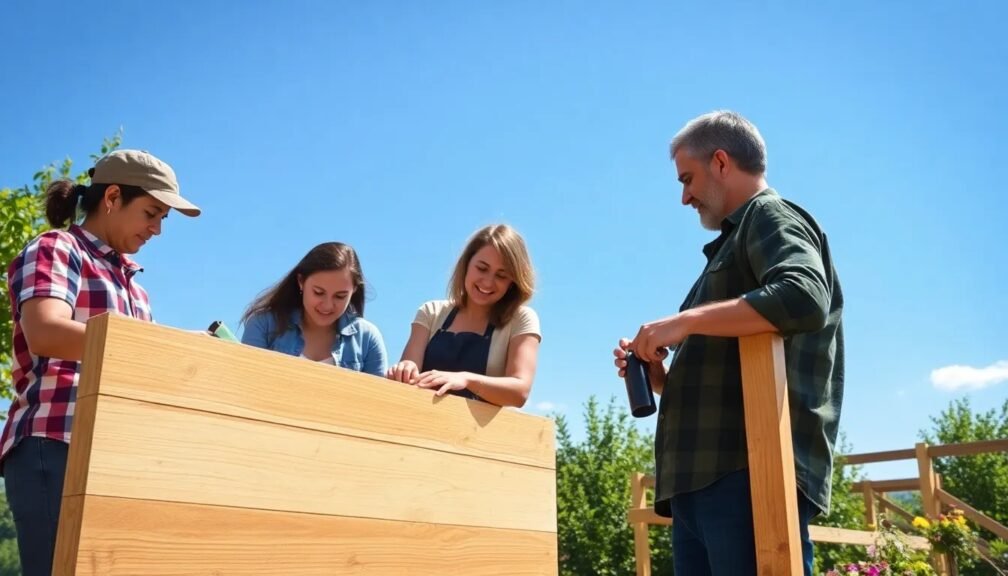
Are you ready to enhance your outdoor space with a stylish new fence? Whether you’re aiming for increased privacy, a clean boundary, or simply to improve your yard’s aesthetics, fence post installation is a crucial step in your DIY project. Installing fence posts correctly can make all the difference in the longevity and durability of your fence. In this comprehensive guide, we’ll take you through the essential steps for a successful DIY fence post installation.
Understanding the Importance of Fence Posts
Before diving into the installation process, let’s understand what makes fence posts so vital. Fence posts serve as the backbone of your fencing structure; they carry the weight of the fence panels and ensure stability against wind and weather. Choosing the right materials and installing them correctly is essential for a long-lasting and sturdy fence.
Planning Your Fence Layout
Step 1: Determine Your Fence’s Purpose
Before you start digging holes, you need to clarify the purpose of your fence. Will it provide privacy, security, or merely act as a decorative boundary? The purpose will influence the type of fence you choose and the spacing of the posts.
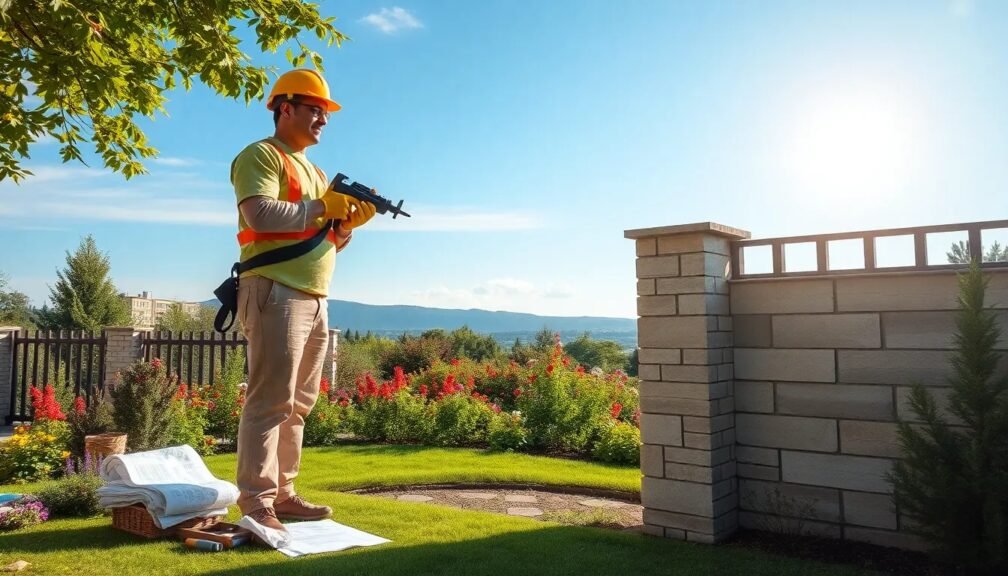
Step 2: Check Property Lines and Local Regulations
Ensuring you’re on your property line is crucial to avoid disputes with neighbors. Mark your property boundaries and check for any permits or HOA regulations regarding fence installation in your area. Having all necessary information will save you headaches later.
Step 3: Create a Measurement Plan
Using stakes and string, outline where each fence post will go. Measure the distance between posts based on the type of fencing material. Standard spacing is usually 6-8 feet apart for most styles, but check the manufacturer’s recommendations for your specific materials.
Essential Tools and Materials for Fence Post Installation
Tools
Before starting your fence post installation, gather the following tools:
- Post hole digger or auger
- Level
- Tape measure
- String line and stakes
- Hammer
- Concrete mix (if using)
- Safety gear (gloves, goggles)
Materials
The materials you’ll need include:
- Fence posts (wood, vinyl, metal, etc.)
- Fence panels or pickets
- Concrete or gravel for stability
- Any additional parts (brackets, screws)
Step-by-Step Fence Post Installation
Step 1: Digging the Post Holes
Once your layout is marked and materials are ready, it’s time to dig the post holes.
- Dig the Holes: Each hole should be at least 1/3 the height of the post and about 8-12 inches wide. This depth will vary based on local frost lines.
- Add Gravel: Place a few inches of gravel at the bottom of each hole for drainage.
Step 2: Setting the Posts
- Position the Post: Place your fence post in the hole, ensuring that it’s vertical using your level.
- Add Concrete: Pour the concrete mix around the post. Follow the manufacturer’s instructions, typically mixing it with water in a wheelbarrow before pouring.
- Level and Brace: After pouring the concrete, make sure the post remains level. Use temporary braces to hold it in place until the concrete sets.
Step 3: Backfilling
Once the concrete has set (usually 24-48 hours), backfill the hole with soil, compacting it gently to eliminate any air pockets. This reinforces your post and ensures it remains upright.
Step 4: Attaching the Fence Panels
With the posts securely in place, it’s time to attach the fence panels:
- Secure the Panels: Start at one end and attach the first panel to the fence post using brackets or screws, ensuring it’s level.
- Continue Down the Line: Move to the next post, keeping the panels level and aligned along the way. Repeat until all panels are attached.
Tips for Long-lasting Fence Post Installation
Choose Quality Materials
Invest in high-quality posts treated for weather resistance. For wooden posts, consider pressure-treated wood, while vinyl and metal options can offer greater durability and stability.
Consider Post Caps
Adding decorative post caps not only enhances the fence’s visual appeal but can also help to prolong the life of the post by protecting it from moisture.
Regular Maintenance
Once installed, regular maintenance is essential. Inspect your fence annually for signs of wear or damage, and re-stain or paint wooden fences every few years to maintain their appearance and durability.
Addressing Common Challenges
Uneven Ground
If you’re working on sloped or uneven ground, consider mounting the fence at varying heights to maintain a straight line. Adjust your measurements accordingly during post installation.
Dealing with Rocky Soil
If you encounter rocky soil while digging, you might need an auger or a digging bar to break up the ground. Alternatively, you can adjust the layout slightly to avoid particularly rocky areas.
Conclusion
Proper fence post installation is a rewarding undertaking that can improve the beauty and functionality of your outdoor space. By following these essential steps, you’re not only ensuring a secure structure but also investing in the longevity of your fence. Remember to plan your layout carefully, use quality materials, and perform regular maintenance to keep everything in great shape.
Actionable Insights
- Plan Thoroughly: Understand your needs, check regulations, and measure carefully.
- Invest in Quality: Use strong, durable materials to ensure your fence stands the test of time.
- Engage Regularly: Make maintenance a part of your home upkeep routine.
Now that you have the tools and knowledge, why wait? Embark on your DIY fence post installation journey today, and enjoy the enhanced beauty and functionality your new fence brings to your home!