When it comes to enhancing your property’s curb appeal, privacy, and security, installing a fence is one of the most effective solutions. A well-constructed fence not only outlines your property boundaries but also adds aesthetic value. In this comprehensive guide to fence panel installation, we’ll explore the essential tips and strategies that will lead you to a successful setup.
Why Installing a Fence is Worth It
Before diving into the nitty-gritty of installation, let’s discuss why you might want to consider getting a fence in the first place.
1. Enhanced Privacy
Whether you live in a bustling neighborhood or a quiet rural area, a fence can provide a buffer from prying eyes. People often seek fenced spaces to enjoy their backyards in peace.
2. Increased Security
Security is a top priority for many homeowners. A sturdy fence can deter intruders, making your property less of a target.
3. Property Definition
Fences clearly outline property lines, reducing disputes with neighbors and establishing boundaries for both aesthetics and practicality.
4. Aesthetic Appeal
Modern fences come in a variety of materials and styles, allowing you to choose something that fits your home’s architectural design.
Before You Start: Planning Your Fence Panel Installation
Determine Your Purpose
Understanding the main function of your fence will guide your choices. Are you installing it for aesthetics, privacy, or security? This will determine the type of material you select.
Check Local Regulations
Before beginning fence panel installation, check with your local zoning laws and any HOA restrictions to make sure you comply with height limits, materials permitted, and property line requirements.
Choose the Right Material
Popular materials for fence panel installation include:
- Wood: Offers a natural look and is versatile, but may require more maintenance over time.
- Vinyl: Durable and low-maintenance, but can sometimes be more expensive upfront.
- Chain Link: Cost-effective and functional for securing a property without sacrificing visibility.
- Metal: Provides longevity and security but can be more costly.
Measuring Your Space
Before you purchase any materials, carefully measure the area where you plan to install the fence. Consider the layout, the inclusion of gates, and any changes in elevation, which may impact installation.
Gathering Your Tools and Materials
Essential Tools for Fence Panel Installation
Having the right tools is crucial for a successful installation. Here are some essentials:
- Post Hole Digger: To create holes for your fence posts.
- Level: To ensure panels are straight.
- Tape Measure: For accurate measurements.
- Saw: If you need to cut panels or posts.
- Hammer and Nails: Or screws, depending on your fence type.
- Concrete Mix (if necessary): For setting your posts securely.
Materials Checklist
- Fence Panels
- Posts
- Concrete
- Gates and Hardware: Don’t forget hinges and latches!
- Wood Treatment/A sealer: For wood fences to extend longevity.
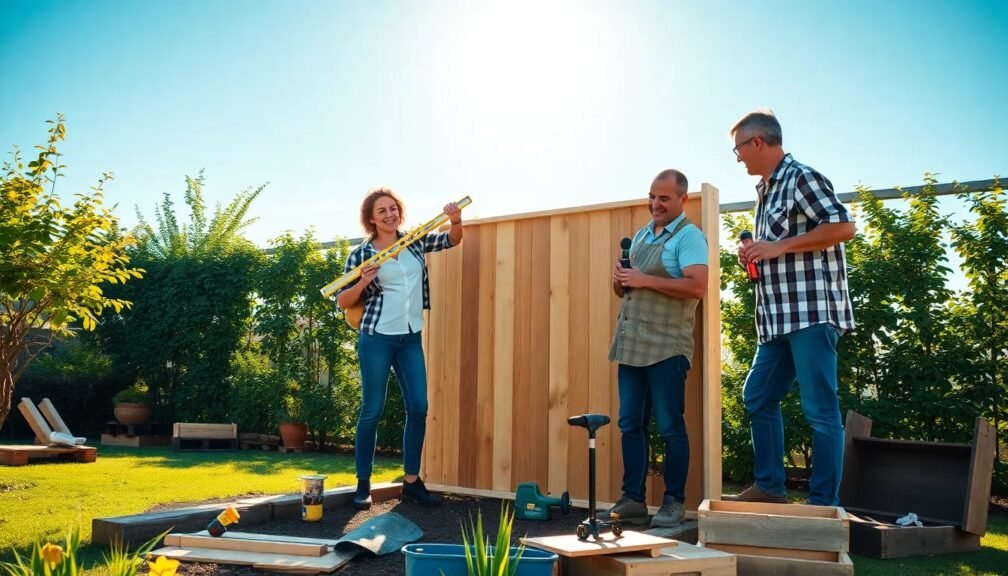
Step-by-Step Guide to Fence Panel Installation
Step 1: Mark Your Layout
Using flags or chalk, mark where your fence will go. Make sure to visualize the final look, ensuring you have a clear understanding of your layout.
Step 2: Dig Post Holes
Using your post hole digger, start digging holes for the fence posts. A common recommendation is to dig holes about one-third the depth of the posts. For example, for a 6-foot fence, dig about 2 feet deep.
Step 3: Setting the Posts
Place the posts in their holes and make sure they are plumb. You can use a level to ensure they’re straight. Pour concrete into the hole around the base of the post and allow it to cure according to package instructions. This is where the strength of your fence truly begins.
Step 4: Attach the Fence Panels
Once your posts are secured, start attaching the fence panels. Begin at one end and work your way along, keeping an eye on spacing. Ensure all panels are level with one another for a cohesive look.
Step 5: Install Gates
If you’ve included gates in your design, now is the time to install them. Make sure they swing open and close easily to avoid any frustration later.
Step 6: Final Touches
Consider applying a wood treatment to preserve your panels and posts from rot or insect damage. If you opted for a vinyl or metal fence, ensure all hardware is tightly secured.
Maintenance Tips for Longevity
Regular Inspections
Conduct regular inspections of your fence to catch any issues early, such as loose panels or rotting wood.
Seasonal Cleaning
Remove debris, plants, and small animals regularly to prevent rot and damage from moisture.
Refresh Finishes
If you’ve used wood, consider re-staining or sealing it every few years to maintain its appearance and durability.
Common Issues to Avoid
Poor Planning
Rushing into measurements or design can lead to mistakes that may require a complete redo.
Neglecting Local Laws
Ignoring local regulations can lead to fines or even having to remove your new fence.
Skipping the Quality Check
Always choose high-quality materials to ensure a long-lasting fence. Cheaper materials might save money in the short term but lead to costly repairs down the road.
Conclusion: Transform Your Outdoor Space with Confident Fence Panel Installation
In conclusion, fence panel installation doesn’t have to be a daunting task. By following the outlined steps, understanding your purpose, gathering the necessary tools, and implementing proper maintenance, your fence can enhance your property for years to come. Remember the importance of effective planning and the value of quality materials in making your vision come to life.
So, roll up your sleeves and get started on a project that will not only beautify your home but also offer you privacy and security for years ahead!
By focusing on these actionable insights, you’ll be well on your way to a successful and rewarding fence installation experience. Happy fencing!
