Installing a backyard fence can transform your outdoor space. Whether it’s for privacy, security, or simply to enhance the aesthetic appeal of your yard, a well-constructed fence can lead to a multitude of benefits. In this ultimate DIY guide, we will walk you through everything you need to know about backyard fence installation. Let’s get started!
Why Choose a Backyard Fence?
Before we delve into the installation process, let’s explore why you might want to install a backyard fence:
1. Privacy
A fence creates a defined boundary, helping to secure your privacy and allowing you to enjoy your outdoor space without worrying about prying eyes.
2. Security
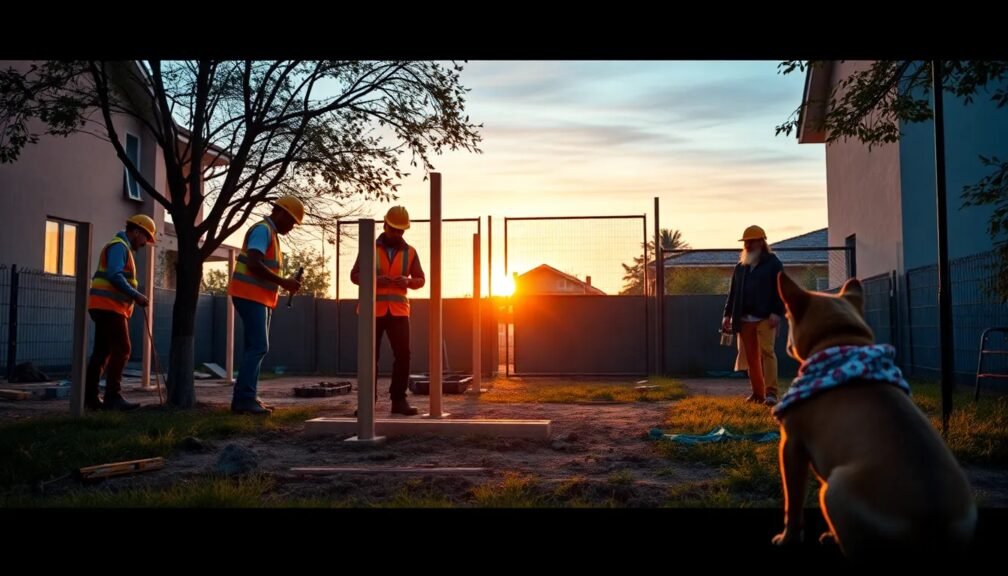
A backyard fence adds a layer of security for your family and pets. It can deter unwanted visitors and keep your pets safely contained.
3. Aesthetic Appeal
A beautifully designed fence can enhance the look of your yard, adding charm and character to your home.
4. Property Value
A well-installed fence can also increase your property value. Prospective buyers often appreciate the benefits of a fenced yard.
Planning Your Backyard Fence Installation
Step 1: Determine Your Needs
Before you start digging holes or shopping for materials, it’s crucial to assess your needs. Consider the purpose of the fence—whether it’s for privacy, security, or marking property lines.
Step 2: Research Local Regulations
Every municipality has different rules and regulations regarding fence installation. Contact your local zoning office to understand height restrictions, material requirements, and boundary considerations.
Step 3: Choose the Right Material
The next step in your backyard fence installation is selecting the right material. Common options include:
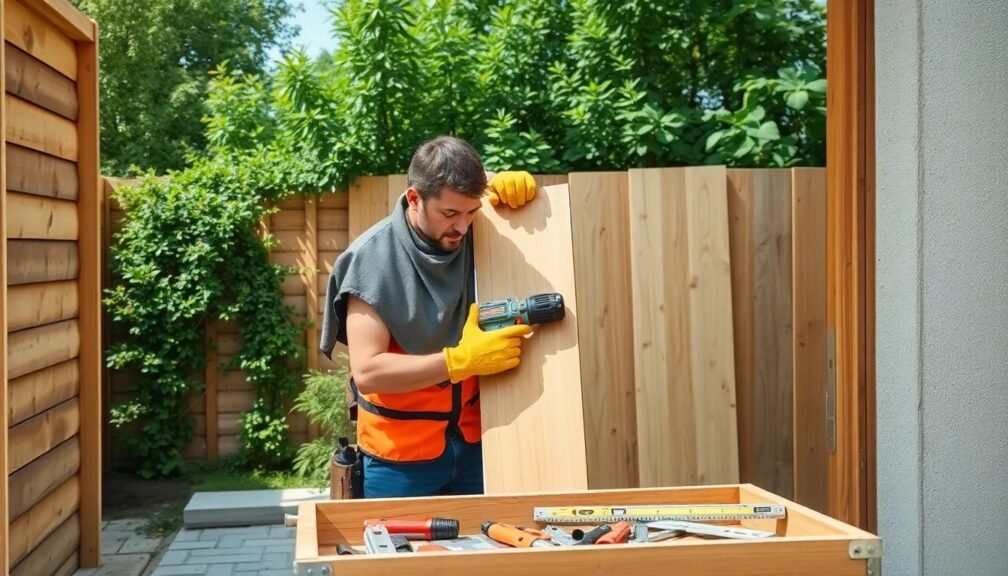
- Wood: Classic and versatile, wood fences can be customized easily but require regular maintenance.
- Vinyl: Durable and low-maintenance, vinyl fencing comes in various styles but can be more expensive upfront.
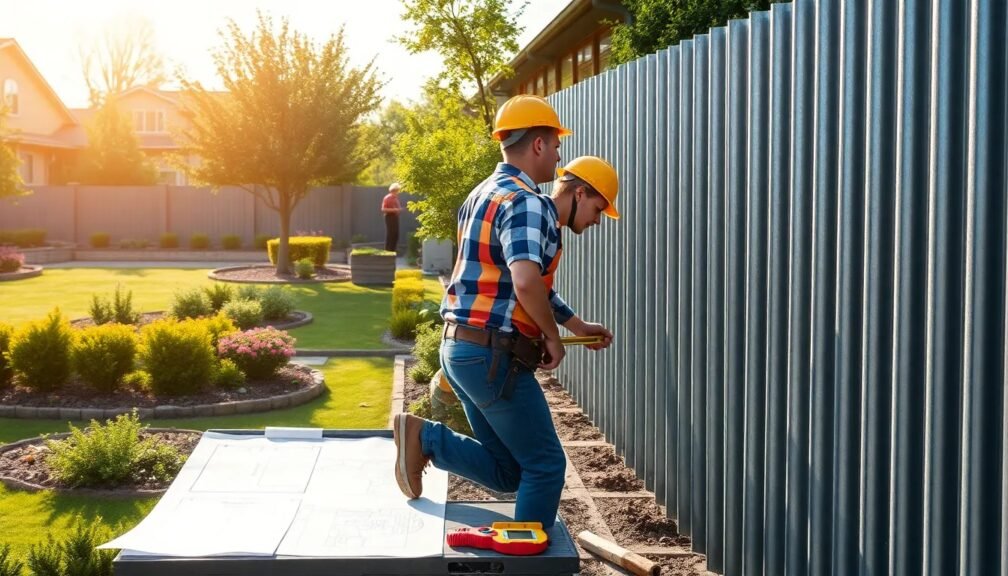
- Metal: Aluminum and wrought iron fences provide a modern look and superior durability, often at a higher price point.
- Chain Link: The most budget-friendly option, chain link fences are practical but offer little in terms of privacy.
Step 4: Plan Your Layout
Using stakes and string, outline where you want your fence to go. Ensuring that your layout aligns with property lines is crucial to avoid any disputes with neighbors.
Tools and Materials Needed
To successfully complete your backyard fence installation, gather the following tools and materials:
Essential Tools
- Post hole digger or auger
- Level
- Measuring tape
- Hammer or power nail gun
- Screwdriver
- Safety goggles
- Work gloves
Materials
- Fencing panels (material of choice)
- Posts
- Concrete mix (for securing posts)
- Fasteners (screws or nails)
- Gate kit (if applicable)
Step-by-Step Backyard Fence Installation
Now that you’ve planned everything and gathered your materials, it’s time to get your hands dirty! Follow this step-by-step guide to ensure a successful backyard fence installation.
Step 1: Mark the Fence Line
Using your layout from earlier, mark the fence line with chalk or spray paint. This will serve as your guide throughout the installation process.
Step 2: Install the Fence Posts
-
Dig Post Holes: Use a post hole digger or auger to create holes for your fence posts, ideally about one-third of the post’s length should be underground.
-
Place the Posts: Insert each post into its hole, ensuring it’s straight using a level.
-
Secure the Posts: Fill the hole with concrete mix and allow it to set per the manufacturer’s instructions. Typically, it takes 24 to 48 hours to fully cure.
Step 3: Attach Fence Panels
Once the posts are secure:
-
Measure the Height: With a level, mark where the top of each fence panel should be, ensuring consistency across the entire fence line.
-
Attach Panels: Fasten the panels to the posts using screws or nails, ensuring they are aligned correctly.
Step 4: Install the Gate
If your design includes a gate:
-
Choose Optimal Placement: Determine the ideal location for easy access.
-
Install Hinges: Attach the hinges to the gate post first and then the gate itself.
-
Ensure Functionality: Check that the gate opens smoothly without obstruction.
Step 5: Final Touches
- Paint/Stain (if applicable): If you selected wood, consider painting or staining to protect your investment from weather damage.
- Landscaping: Add mulch or flowering plants along the fence line for added aesthetic appeal.
Maintenance Tips for Your Backyard Fence
A well-maintained fence can last for years. Here are a few maintenance tips to keep your backyard fence in top shape:
- Regular Inspections: Check for signs of wear, rot, or damage periodically.
- Cleaning: Power wash or scrub the fence to remove dirt and mold.
- Sealing and Painting: For wood fences, seal and repaint as needed to protect against the elements.
Frequently Asked Questions
How tall can my fence be?
Local regulations dictate fence height. Typically, backyards allow for 6-8 feet, while front yards may have lower limits, around 4-5 feet.
How much does backyard fence installation cost?
Costs vary based on material and regional pricing. Expect to spend between $10 to $50 per linear foot.
Do I need a permit for installation?
In most cases, you will need a permit, especially for taller fences. Always check local guidelines first.
Conclusion
Backyard fence installation is a rewarding DIY project that can add privacy, security, and beauty to your outdoor space. By carefully planning and choosing the right materials, you can create a fence that meets your needs and enhances your property value.
Remember the importance of regular maintenance to ensure the longevity of your fence. With these actionable insights and guidelines, you are well-equipped to tackle this project. Happy fencing!