When it comes to securing your property, a sturdy fence can make all the difference. Metal fences, known for their durability and low maintenance requirements, are a popular choice among homeowners. But successful metal fence installation requires careful planning and execution. In this article, we’ll guide you through the five key steps to ensure a successful installation, helping you achieve that perfect balance of beauty, security, and functionality.
Why Choose Metal Fencing?
Before diving into the steps, it’s essential to understand why metal fencing is a favored option. Available in various styles, such as aluminum, wrought iron, and chain link, metal fences provide an elegant aesthetic while offering long-lasting durability. Unlike wood, metal does not warp, rot, or require regular treatment. This makes it a cost-effective choice in the long run. Furthermore, metal fences can add significant value to your property, enhancing curb appeal while providing a secure boundary.
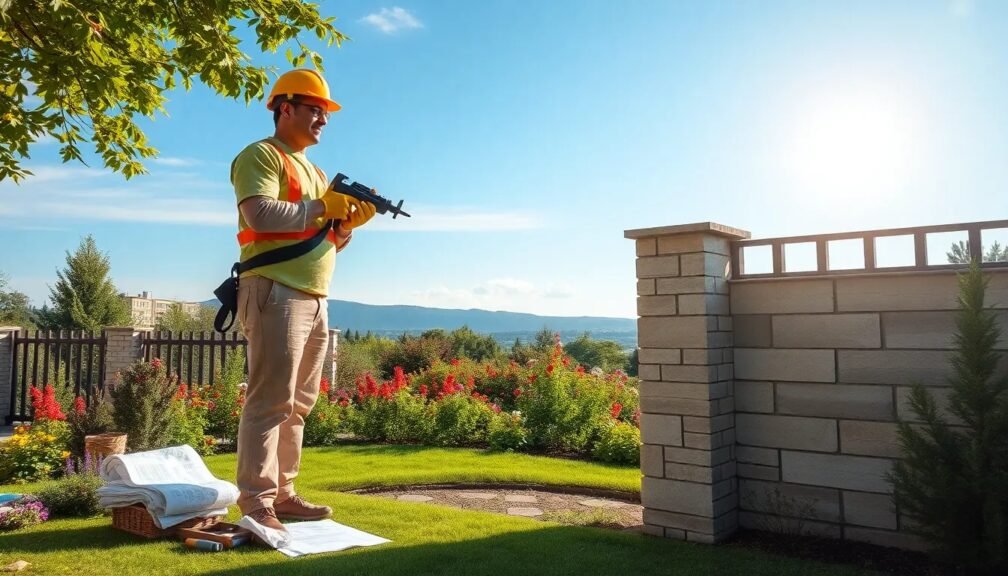
Step 1: Planning Your Metal Fence Installation
Assess Your Needs and Goals
Before starting your metal fence installation, it’s imperative to assess your needs. Are you looking for security, privacy, or purely aesthetic value? Understanding your goals will guide your choice of design and materials.
Research Local Regulations
Next, familiarize yourself with local zoning laws and homeowners association (HOA) regulations. Different areas have specific rules regarding fence height, style, and materials. Checking these regulations beforehand can save you time, money, and potential legal issues later on.
Create a Design Blueprint
Sketch a basic design that outlines the fence’s location and dimensions. Consider the layout of your yard, existing structures, and any landscaping features that could impact your installation. Visualizing your plan can help identify potential challenges, such as slopes or underground utilities that might affect your project.
Step 2: Gather Necessary Tools and Materials
Essential Tools for Metal Fence Installation
To ensure a smooth installation process, gather the following tools:
- Post Hole Digger: For creating holes for your fence posts.
- Tape Measure: To measure distances accurately.
- Level: To ensure your fence is straight and even.
- Power Drill: For fastening the hardware.
- Concrete Mix: To stabilize your fence posts.
Selecting Quality Materials
Choose high-quality materials for your metal fence. Whether you choose aluminum, iron, or steel, ensure the metal is rust-resistant and suitable for your local climate. Consider additional elements like gates and decorative features that align with your design vision.
Step 3: Prepare the Installation Site
Clear the Area
Once you have your tools and materials ready, clear the installation area. Remove any obstacles such as rocks, vegetation, or debris that might hinder the installation process.
Mark the Fence Line
Using stakes and string, mark the outline of your fence. This visual guide will help you maintain a straight line throughout the installation. Make sure to measure and confirm that your fence line accurately follows your design blueprint.
Determine Post Locations
Decide where each fence post will be placed. The standard spacing for metal fence posts is 6 to 8 feet apart, depending on the material and design. Use a measuring tape to mark these locations clearly.
Step 4: Install the Fence Posts
Dig Post Holes
Using a post hole digger, dig holes deep enough to secure the posts—generally about one-third of the post’s height. If you live in an area with frost, consider digging deeper to prevent heaving in winter months.
Set the Posts
Place each post into its hole. It’s essential to ensure that each post is vertically level. Pour concrete mix into the hole around the post, allowing it to cure according to the manufacturer’s instructions. This will provide the stability necessary for your fence.
Allow for Drying Time
Before proceeding with the installation of the actual fencing panels, allow sufficient time for the concrete to set. This usually takes 24 to 48 hours, depending on the concrete type and weather conditions. Patience during this stage is vital for a durable outcome.
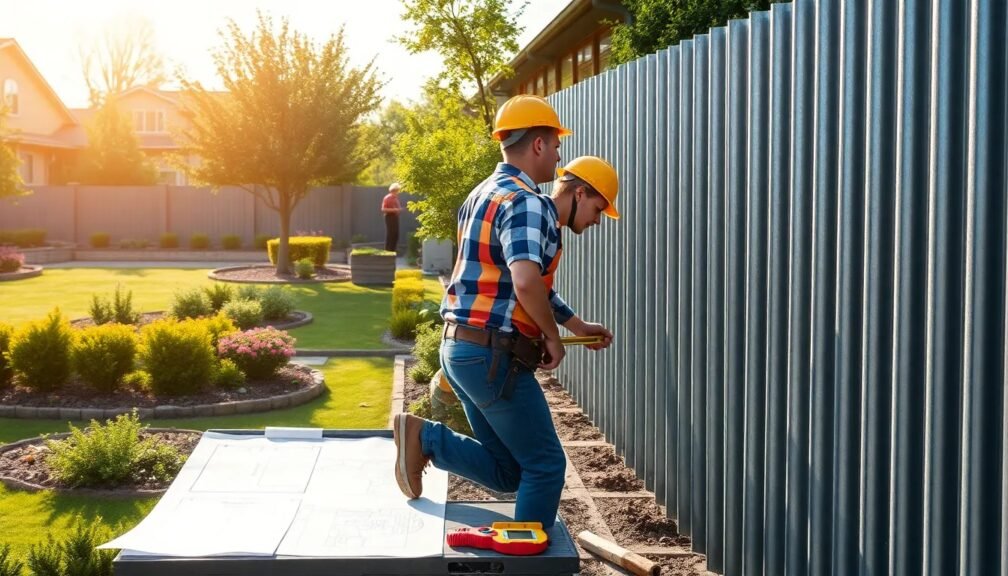
Step 5: Attach the Fencing Panels
Align the Panels
With the posts securely in place, begin attaching your metal fencing panels. Start at one end and work your way down the line, ensuring each panel is properly aligned. Use a level to confirm that each panel is straight before permanently fastening it.
Secure the Panels
Once aligned, secure the panels to the posts using brackets or screws as specified in the manufacturer’s installation guide. Ensure that each connection is tight to enhance the fence’s structural integrity.
Install Gates (if applicable)
If your design includes gates, follow similar steps for their installation. Ensure that gates swing freely without obstruction and align correctly with the fence panels.
Conclusion: Enjoy Your New Metal Fence!
Congratulations! By following these five key steps—Planning Your Metal Fence Installation, Gathering Necessary Tools and Materials, Preparing the Installation Site, Installing the Fence Posts, and Attaching the Fencing Panels—you’ve set the stage for a successful metal fence installation.
Actionable Insights:
- Maintain Your Fence: While metal fencing requires less upkeep than wood, occasional cleaning and inspection for rust or damage are necessary to ensure longevity.
- Seek Professional Help: If you’re uncertain about any aspect of the installation, consider hiring a professional. They can ensure that the installation meets local codes and is completed efficiently.
- Consider Custom Designs: Take full advantage of the versatility of metal fencing by exploring custom designs that can tailor to your property’s unique features.
With your new fence installed, you can enjoy increased privacy, enhanced security, and an added touch of elegance to your property. Embrace the benefits of metal fencing, and revel in your achievement for years to come!